Creating a task box system for your special education classroom is a great suggestion for both new and veteran teachers. Task boxes are individual activities that are at a student’s individual developmental level and encourage working on skills or tasks in the classroom independently. Task boxes can help students with autism and special needs learn to work individually, master and maintain academic skills, and build self-esteem as they learn to complete tasks on their own. Task box time can also be strategically placed into your daily schedule to help students who struggle with transitions by giving them 10-15 minutes of time where they can work by themselves before moving on to more busy times of the day.
Picture It
There are also many benefits for teachers as well. Having students work independently on task boxes can free up your time to work with other students, get materials ready for the next activity, or take a quick break. Take a look at your daily schedule and figure out a more chaotic time during the day when you struggle with meeting the individual needs of all the children. This would be a great time to implement task boxes to engage some students while you work with others. At first, setting up a task box system can seem like a lot of work, but we can break it down into smaller steps so it’s not so intimidating.
Plan It
First, you need to come up with a general idea of how many task boxes you’d like to have in your classroom and what skills you want to work on with the task boxes. Literally anything can be made into a task box.
Task box categories could include:
- fine motor
- alphabet or number recognition
- sight words
- sorting
- sequencing
- matching
- math concepts
- ELA concepts
- anything else you want to work on
A simple Google or Pinterest search (see one of our task box pages here) of “special education task boxes” can help you come up with some ideas. Once you come up with an idea of what task boxes you’d like to have in your classroom and how many, you’ll need to gather materials.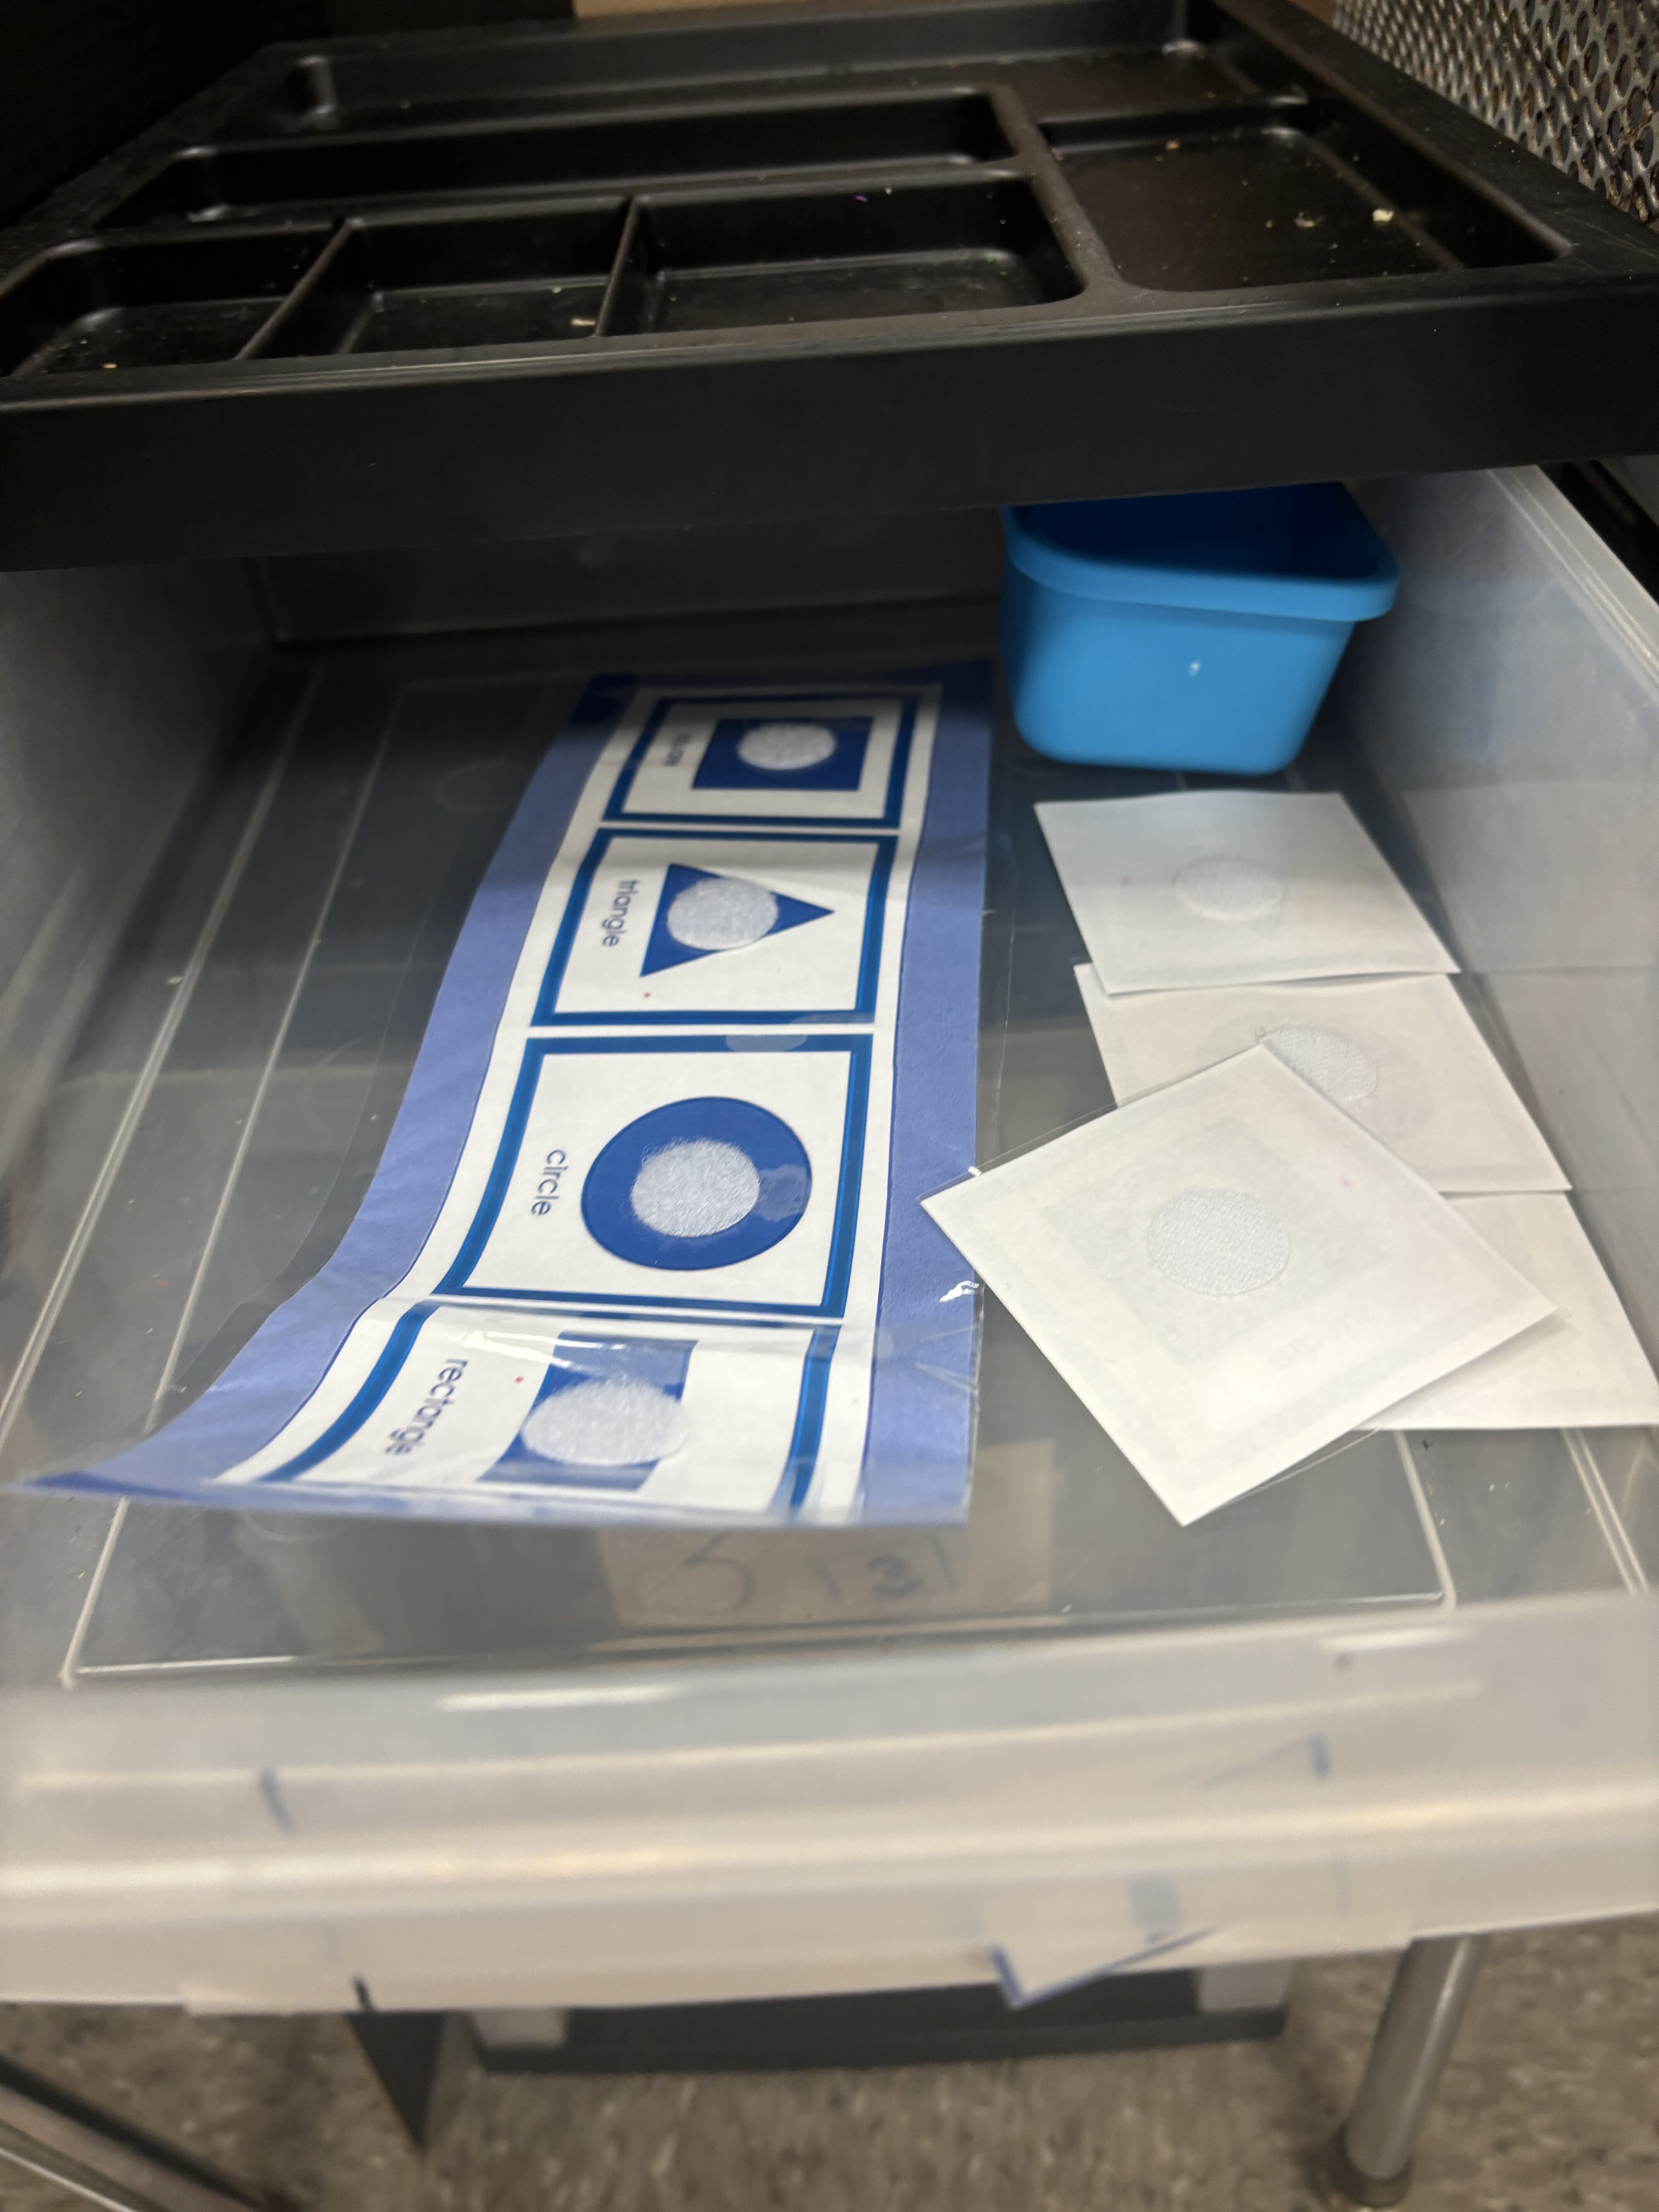
Acquire It
When gathering materials, there are a few things you’ll need to purchase. First, you’ll need the actual boxes to hold the materials. Depending on the size of the task box you’d like to create, you can purchase small plastic pencil boxes for around $1 at most craft or school supply stores, or use a set of 4x6 photo containers. If you need larger boxes, look for bulk discounts on sites like Amazon for clear plastic bins with lids. Or, just save shoe boxes or ask for show box donations from other staff or parents. You may need to purchase the materials needed for inside task boxes if they aren’t readily available in your classroom or school. Also, make sure you have a printer and laminator readily available for task boxes that require printing and laminating items for durability. 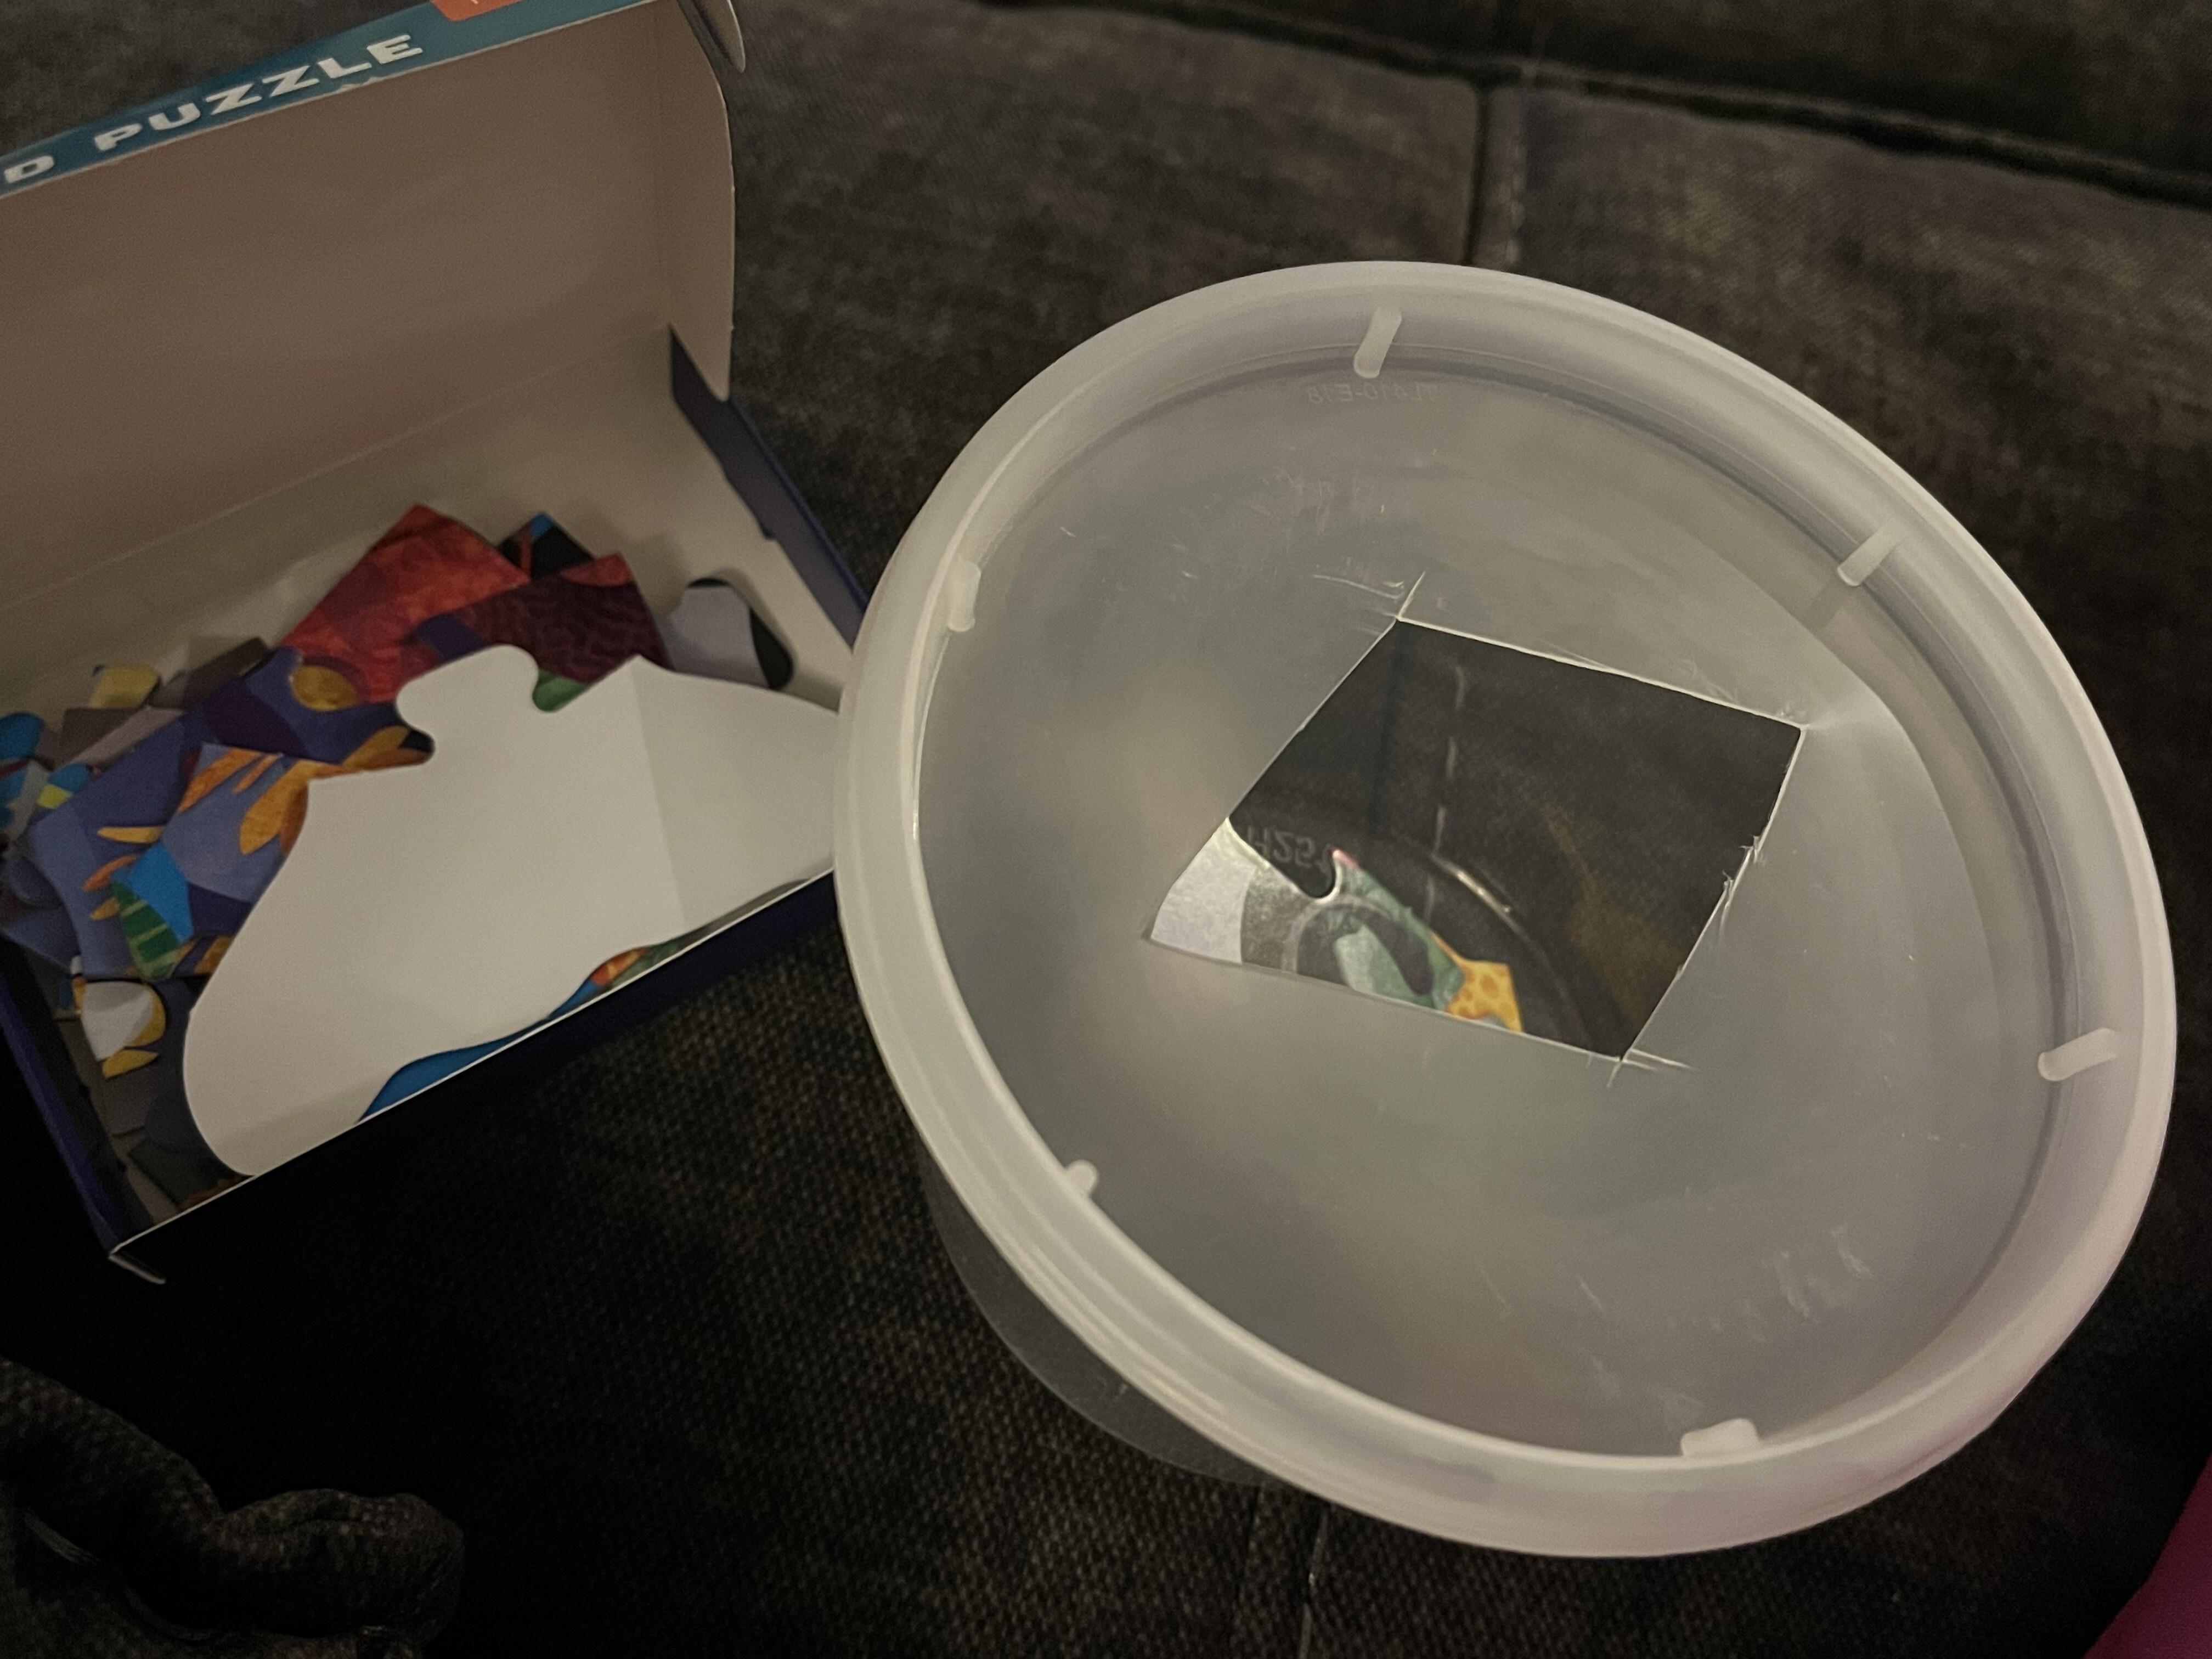
Label It
Next, you’ll also want to create some type of label system for your bins. These can be simple labels that make it easy for you and your students to pull the correct task box.
- Some teachers choose to create a “matching label” system where each box is labeled with a shape, color, or letter. They will then hand out the corresponding labels to students and students are responsible for finding the matching task box to start working.
- Other teachers simply label the task box with the name of the activity it contains and what subject the activity belongs to.
- You could also plan which students will get which task boxes before they come in and place their picture on the task box for them to find.
Make sure to laminate your labels for durability so you can use these task boxes over and over. Once you have your materials, it’s time to think about how you’re going to organize your task boxes so you have an efficient system.
Organize It
The entire purpose of having a task box system is to encourage independent work from our students, so having your task boxes organized will help your students be successful in getting their task boxes and working independently. Depending on the size of your task boxes, you could place them on bookshelves with the labels facing out so that your students can find each box according to its label. If you have smaller task boxes (think pencil box sized), you could place them in drawers of a Rubbermaid container and label the drawers according to skill. Your students can then go to the drawer and find their task box to work independently.
Consider making 2 per week so you do not overload yourself or your team. Try to make them sturdy. Some tasks are easily broken.
Teach It
Once you set up your task box system, it’s time to teach your students the routines and expectations of working with the system.
- Make sure to come up with a system for using task boxes that is easy for the students to learn and can be individualized according to level.
- The simplest way to teach students how to use task boxes is to incorporate a visual schedule with the task boxes.
- You can create a visual schedule serval ways.
- Consider using the Velcro labels to place on their schedule and then they can take them off and match them to the corresponding task box.
- When done, they can then take their task box to an area you designate when they are finished.
- They can then move onto the next task on their schedule until all are completed.

Do It
Task boxes do require some time and effort to put together before implementing. Having a task box system in your classroom is a great way to teach your students to do more independent work. It takes time and hard work and they even get messed up by the students, but once you have them completed and start implementing them into your classroom, you will be grateful. When they work on skills they are close to mastering or have already mastered, they will gain confidence in their abilities.